Labels

Showing posts with label Food. Show all posts

Wednesday, January 28, 2015

Alexandra’s Chicken Enchiladas (a.k.a. Chickiladas!)

Some of you may remember the blog post from several years ago when I turned a piece of sheet metal into a magnetic spice rack chalkboard.  Over the years, people have grabbed a stick of chalk when no one was looking and added comical names beside the spice names.  For example: "Y'all Spice," "Rosemary's Baby," "Michael Bay Leaf," and well you get the picture!


Since this is the highlight of my kitchen and the one thing everyone seems to comment when they visit our house for the first time, John and I thought it would be fun to give spices in magnetic tins as a gift for guests at our upcoming wedding.  Low and behold we were gifted a bunch of magnetic tins that John's sister-in-law was no longer using...so our fate was sealed! ;)

Since we have a dual Indian and Mexican theme to our wedding, I thought it would be cool to have Indian or Mexican recipes accompany each spice.  You know, so you can SPICE Up Your Life!

My dear friend Alex sent me this recipe to use and I thought I would share it on the blogosphere.  Especially since it's been awhile since I have taken time to blog.  Been a little busy in my world!  I know, always the same story.  Anyway, check out the recipe.

Alexandra’s Chicken Enchiladas (a.k.a. Chickiladas!)


Sidebar: Make your meal extra authentic and save some cash by shopping at your local Hispanic supermarket for ingredients! Their produce is generally beautiful, and you’ll pay way fewer pesos.

Sidebar on that Sidebar: Do not actually try to pay in pesos. That would be ridiculous.

Sauce:

·         28 oz. Jar San Marzano tomatoes, hand-crushed in a large bowl
( About 2/3 of it goes in sauce, 1/3 goes in chicken)
·         2 (or more) cloves of garlic, minced
·         2-3 chipotle chilies canned in adobo sauce, minced
·         ½ tsp ground cumin
·         ½ tsp chipotle chili powder
·         1 cup chicken broth
·         Pinch of sugar

Chicken:

·         Olive oil
·         1 cooked rotisserie chicken (skinned & shredded)
·         1 cup (or more) onion, diced
·         1 red bell pepper, diced
·         2 (or more) cloves of garlic, minced
·         ½ cup cilantro, roughly chopped
·         ½ to 1 cup chicken broth
·         1 tsp ground cumin
·         ½ tsp oregano
·         Rest of hand-crushed tomato sauce left over from sauce
·         1 hot chili pepper, seeded and diced (jalapeno, scotch bonnet, habanero, whatever you can handle)
·         Juice of 1 lime
·         2 cups shredded cheese (at Hispanic market, the light shredded cheese called “Quesadilla Melting Cheese” is the best, but you could use anything
·         ½ wheel of queso fresco, crumbled
·         10 flour tortillas
·         Extra: scallions, sour cream, extra queso fresco crumbles for topping.

Sauce:
Sauté garlic in olive oil over medium-low heat. Add adobo chilies, then spices (chipotle chili powder and cumin), and sauté one minute more.  Add tomato sauce and chicken broth. Salt ‘n’ Pepa. Bring to boil, reduce to simmer; simmer for 5-10 minutes. Add a pinch of sugar if it tastes bitter at all. Set aside.

Chicken:
Sauté onion, red pepper until just soft – add a little salt as they cook; add garlic and fresh chili (jalapeno or other) for the last minute of sautéing. Add cilantro, oregano, chipotle chili powder, cumin, Salt ‘n’ Pepa. Add reserved tomato sauce, chicken broth, and shredded chicken. Simmer about 10 minutes, or until liquid reduces enough to spoon out as filling. Crumble in queso fresco, squeeze in lime juice.
Spray 9”x13” casserole dish with cooking spray. Roll 10 tortillas with ¼ to 1/3 cup each, and place seam-side down in dish. Top with sauce, then with shredded melting cheese.
Bake at 400 degrees for 20-25 minutes.
Top with scallions, sour cream, extra queso crumbles. Enjoy!


"The finest ingredients are brought together with love and care, then slow-cooked to perfection. Yes, the old ways are still best at Los Pollos Hermanos. But don't take my word for it. One taste, and you'll know."

Thursday, June 26, 2014

Avondale: My Lovely Neighborhood

Avondale is constantly growing and expanding and it has been such a joy to watch the progress on a daily basis as a native Avondale resident. In the last week I have visited two new businesses that have opened: Boxcar Vape and MELT. 

The former is a patriotic themed vape lounge fit with board games and a video game and sports watching setup. The latter is a gourmet grilled cheese themed restaurant with ties to Birmingham's well respected Ocean and 26 restaurants. Both spaces lived up to my hopeful expectations and I definitely plan on frequenting both in the future!

These outings were also the perfect way for me to play around with my new camera!


World Cup fans hanging out during the grand opening.

American flag mural that I believe was created by the fabulous Bo Hughins


Menu of vape favors "on tap" that you can try out.


MELT has a fun cocktail menu too. Their Bloody Mary comes with a Habanero jack cheese and bacon garnish.

Fully loaded fries (with BBQ pulled pork, cheese, and grilled smoky jalapeños).

House made condiments...yummy.

The delicious Ham and Swiss grilled cheese with Honey Lavendar butter!


Monday, March 10, 2014

Birthday Extravaganza!

This year I celebrated 32 years around the sun!  I decided to celebrate it with my dear friend Kristi who has a birthday the week after me.  We met friend out for a lovely Indian dinner and then headed back to "Owl Manor" (my house) for fun times with friends!  My musician friend Derek came over after a gig and brought in his awesome accordion.  I couldn't help myself!


Kristi and I blowing out the candles

Tiaras and bindis for these birthday girls!

Friday, June 14, 2013

Korean BBQ Tofu Burrito

We went to delicious Hankook Taqueria in Atlanta with Dan and Katrina  last weekend.  We had the Korean BBQ Tofu Burrito which was delicious (and so were the Sesame fries, OMG)!!

I decided to try and make a healthier version of the burrito where I used a whole wheat/low carb wrap and a combination of cauliflower and quinoa in place of the rice.


Ingredients:

  • Tofu, 16 oz., cubed (1 packet makes 4 servings)
  • Coconut Oil
  • 1 head Cauliflower, cut, steamed, mashed
  • 1 cup cooked quinoa
  • Korean BBQ sauce (I used store bought but you can make your own too)
  • 1 sprig fresh Cilantro
  • Sprouts
  • 3 cloves garlic, chopped


Directions:

  1. Cook quinoa according to directions (*make sure to rinse first)
  2. Chop cauliflower and boil for 15 minutes.  Drain and mash.
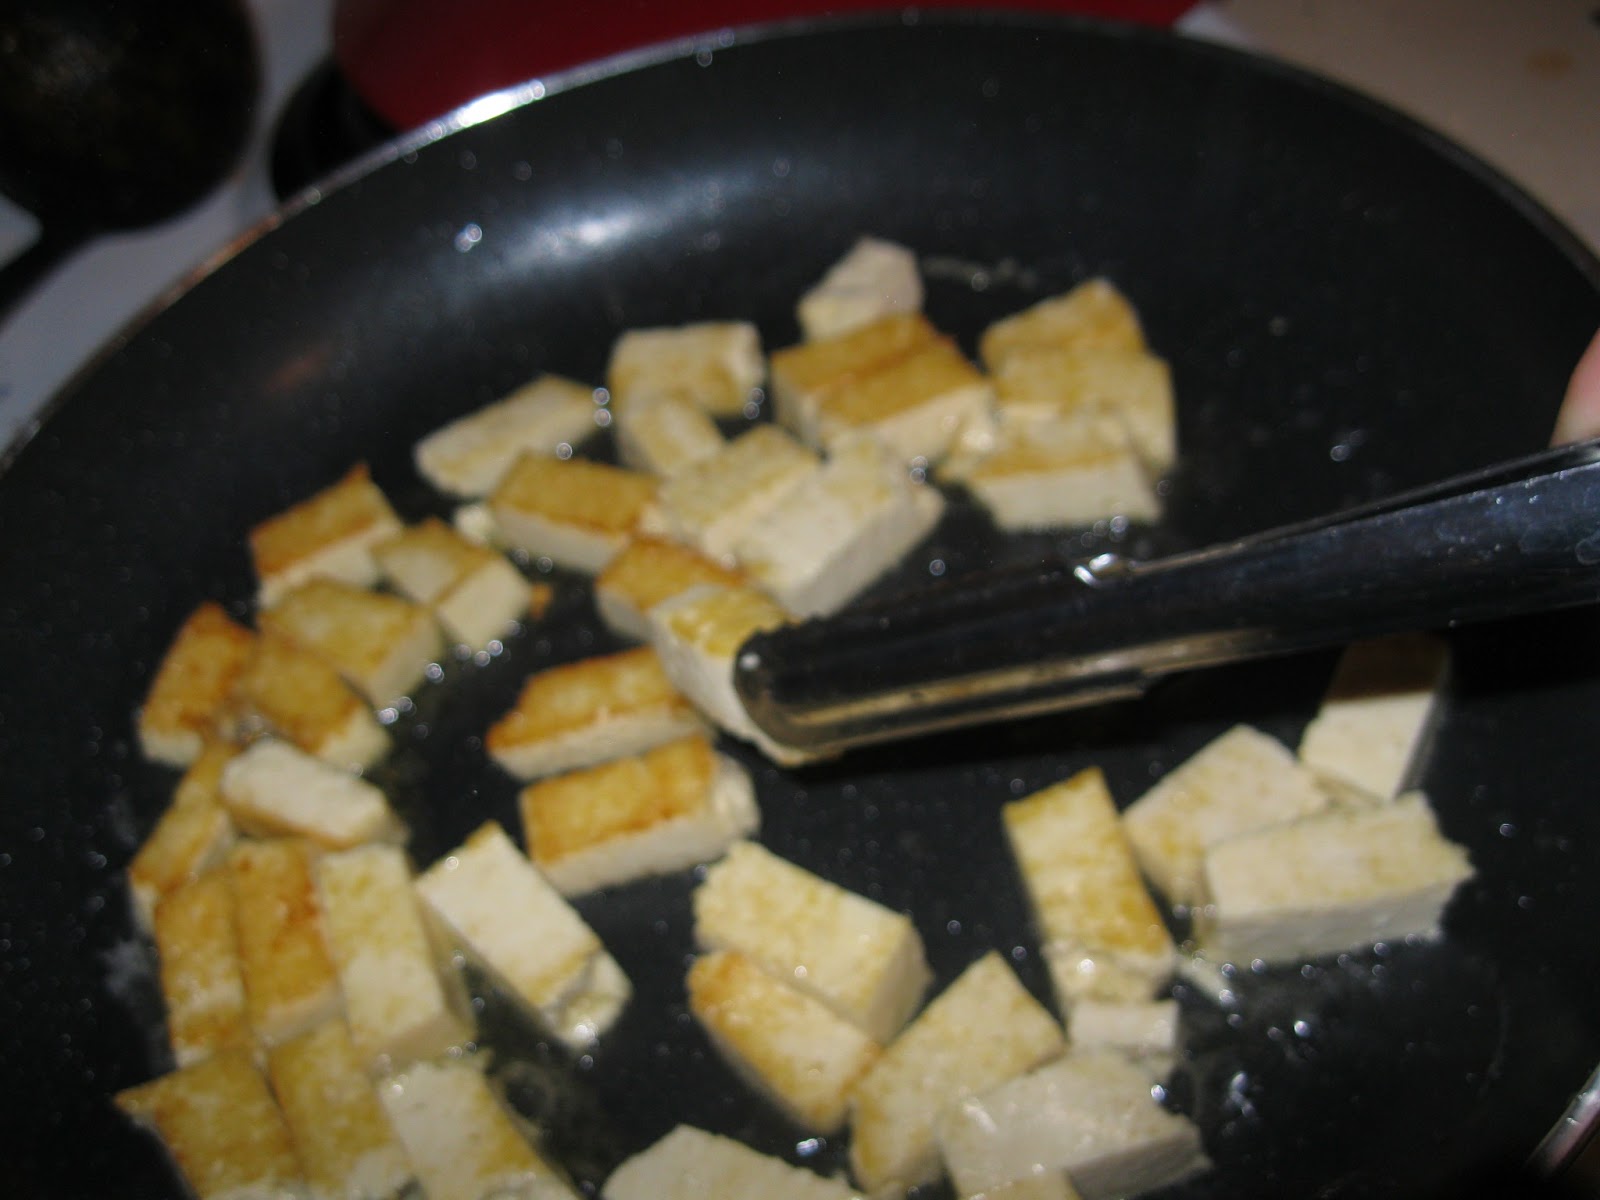
  3. Saute tofu and garlic on medium-high heat in large skillet.  Turn to brown on all sides and set aside.
  4. Mix 1 cup of Korean BBQ sauce with quinoa then lightly fold in tofu.
  5. Assemble in burrito/wrap by adding tofu BBQ mixture and add fresh cilantro and sprouts.
  6. Devour!

Monday, June 10, 2013

Meatless Muffalettas

This veggie creation turned out tasty!!!
Ingredients:
  • Whole Wheat English Muffins
  • Sliced Aged Provolone Cheese
  • Mayonaise
  • Tapenade (homemade or store bought-I used this recipe by Alton Brown)
  • Artichokes
  • Fresh Basil
Directions:
  1. Spread mayonaise on top of English muffin.
  2. Melt cheese in toaster oven on top piece after spreading mayo.
  3. Pile tapenade on bottom English muffin (the nooks and crannies soak up all the juice and keep things from getting to sloppy or messy).
  4. Place artichoke and fresh basil in between.
  5. Put sandwich together and enjoy!
I made these ahead of time and put them in the fridge wrapped in parchment paper for several hours.  They kept well.  We took them to Railroad Park and enjoyed them as we listened to the Alabama Symphony Orchestra perform in the park.  Lovely evening!


Friday, May 24, 2013

Vegetarian Experiment!

So, I have decided to give up meat for a month as a personal challenge of sorts.  My goal is to reinvigorate my love for cooking and to discover and create new and creative veggie recipes.  I hope in the end when and if I decide to introduce meat back into my diet it will be less often as I eat meat now; mainly for health and financial benefits.  Recipes to come!

Monday, January 16, 2012

Huevos Rancheros Cups


I made these "Huevos Rancheros Cups" for breakfast Saturday. So easy! Best part, they were only 330 calories per serving. So yummy too!

Aren't they cute? Great way to dress up a simply dish...it looks gourmet and would be a perfect brunch dish!

Ingredients:
  • flour tortillas
  • eggs
  • salsa
  • cheese
  • sour cream (optional topping)
  • spices (I used cumin, salt, garlic, cilantro, pepper)
  • vegetable oil spray
To start, trim an inch off the edge of the flour tortillas and spray both sides with vegetable oil spray. Carefully fold into muffin pan (I have an extra large "Texas" muffin pan my mom gave me for Christmas that worked perfect for this). Then, spoon a couple of tablespoons into the tortilla cups (I used a black bean and corn salsa). Crack your eggs on top. If you are using the larger muffin pans like I did you can probably get two eggs per cup, but if you are using regular sized muffin pans you probably want to only do one egg per cup. Sprinkle on your seasonings and spices. Cover with aluminum foil and bake for about 7 minutes at 350 degrees. Take aluminum foil off, sprinkle the tops with cheese and bake for another 5-6 minutes until eggs are done to your liking. Get some forks, put some fat free sour cream on top if you like, and dig in!

Friday, December 30, 2011

Creamy Edamame Dip

In November John and I were sitting in the doctor's office waiting to find out why I felt so cruddy. Shortly we found out that I had walking pneumonia...thanks kids! ;)

While waiting we came across an interesting recipe for an edamame dip in Country Living magazine. John took a picture of it with his smart phone and we soon forgot about it. When we were planning the holiday shindig with my bff, LL, I remembered it!

I whipped it up and put it out during the party. It was a hit! Within a week of the party, I had already had two of my friends request the recipe. So, here it is! Best part, it's vegetarian and kind of healthy (minus the delicious cheese spread).


Ingredients:
  • 2 cups frozen, shelled Edamame
  • 3/4 cup fresh cilantro leaves
  • 1/2 cup Garlic-Herb cheese spread (Boursin)
  • 1/2 cup light sour cream
  • 3 Tablespoons Tahini paste
  • 3 Tablespoons fresh lemon juice
  • 2 Tablespoons olive oil
  • 1 clove garlic, smashed
  • 1/2 teaspoon ground coriander
  • 1 teaspoon kosher salt
  • 1/2 teaspoon ground cumin
Directions:
  1. Boil edamame according to package directions (stovetop or microwave); drain.
  2. Combine all ingredients in food processor. Add more sour cream, olive oil, or water if too thick.
  3. Transfer to bowl and chill in refrigerator.
  4. Serve with sesame crackers and/or fresh vegetables!

Monday, December 19, 2011

Owl Cake


I saw this owl cake on pinterest. It was pinned from the "Leave Room for Dessert..." blog. It is so cute I had to share. All you do is bake two round cakes, use one for the body and cut the other one up using temple (pic below) and reassemble. Ice and eat! Great idea for a birthday cake for all of the owl lovers out there. Hint hint! ;)


Saturday, August 27, 2011

Pimento Cheese & Beer Cheese Soup


I love cheese. I love beer. They pair great together! A couple of weeks ago I was craving the pimento cheese recipe that used to be served at O'Henry's Coffees in Homewood, AL. It is super simple, but super yummy. So, I decided to make it and take a stab at making my first Beer Cheese Soup; a favorite from childhood. I remember going to Bennigan's back in the day and always insisting on having the Beer Cheese Soup with a Monte Cristo sandwich.
Ok, so this pimento cheese is great on sandwiches, with crackers, or just on a spoon!

Pimento Cheese
Ingredients:
-2 cups shredded sharp cheddar
-1 cup mayo
-1 (4 ounce) jar diced pimentos
-garlic powder to taste
Directions:
1. Mix everything together.
2. Taste, add more garlic powder if needed.
3. Spread onto bread.
4. Grill it
5. Eat it!

Beer Cheese Soup
Ingredients:
-1 Tablespoon butter
-2 cloves garlic, minced
-1/2 onion, finely chopped
-1 teaspoon Worcestershire sauce
-1 can light beer (I used PBR)
-1 can chicken stock
-3 tablespoons cornstarch
-2 cups fat free half & half
-2-3 cups shredded cheeses
Directions:
1. Melt butter in dutch oven, add onion, garlic, and worcesteshire. Saute.
2. Add beer, boil 3 minutes.
3. Add chicken stock, bring back to boil. Lower to simmer.
4. Mix cornstarch with 3 Tablespoons water and set aside.
5. Add half & half and cheese. Stir constantly until cheese melts.
6. Stir in cornstarch mixture. Stir constantly until soup thickens.
7. Eat!

Friday, August 12, 2011

Barbacoa


About two years ago, my boyfriend took me to Taco Gean in Tuscaloosa, AL. It was an authentic Mexican restaurant serving everything from Barbacoa and Mole'. I had never had either, so I tried both. Delicious! I had actually never even heard of Barbacoa, but wow this newcomer blew me away...so good! Beef! Yummy!

Little did I know that my trip to Taco Gean would be so timely. A couple of weeks later, when we returned to Tuscaloosa to celebrate Alabama football once again and to visit friends, I suggested going to Taco Gean again (yes, it really was that good). Our friends soon told us that they had closed and a hot dog joint was now in its place. Many months later, I got reports from friends that had visited that hot dog joint that it was mediocre at best. The fact that this glorious authentic Mexican restaurant that served divine treats on the cheap couldn't survive while this hot dog shop still runs is proof to me...proof that my theory is true. My theory is that the majority of people have poor taste. It is sad fact, but it is true! That is why I am pushing on by providing this great service of sharing "real" and "good" food with you guys here. Enjoy!

This barbacoa recipe by the way is so simple. All you do it marinate your meat overnight, sear both sides in a skillet, cook in crock-pot, shred meat, slap on a tortilla, and eat! You will be begging for more. Trust me!


Ingredients:
  • 2 pounds beef brisket
  • 28 ounce can diced tomatoes
  • 1 can rotel
  • 1 cup chicken broth
  • 2 Tablespoons lime juice
  • 1 1/2 teaspoons ground cumin
  • 1 teaspoon oregano
  • 2 sliced jalapenos (seeds and ribs removed)
  • 3 tablespoons cilantro
  • 1 sliced onion
  • 1/2 teaspoon salt
  • 1/2 teaspoon pepper
  • 2 Tablespoons oil (for searing meat)
  • fresh limes (to squirt on your taco)
Directions:
  1. Place all but the last (oil) ingredients into a large zip lock bag. Place in fridge and marinate overnight. I always put my bag into a big bowl, so if anything drips out, it doesn't mess up my fridge.
  2. Next morning, sear both sides of the meat in an oiled skillet on high heat. Sear fatty side first.
  3. After searing, place meat and all juices from marinating bag into crock-pot and cook on low for 8 hours.
  4. After 6 hours of cooking, take meat out of crock-pot and place in large bowl. Use large forks to "pull" meat apart. Then, place it all back in the crock-pot.
  5. After it cooks for the remaining 2 hours, serve meat on a tortilla
  6. Serving suggestions: fresh lime juice (this is key, totally makes the dish), chopped tomatoes, sour cream perhaps, cheese. Lime juice is the only real necessity here. For a side dish, make another taco...or if you are being health conscious, black beans would be perfect!
**Note: Meat will be very juicy. It would be good to squeeze out some of the juice in a colander before serving in your tortilla to avoid "soggy taco syndrome."


Tuesday, August 9, 2011

Jalapeno Poppers


I picked up three jalapeno plants at the beginning of the summer because they were only $1.50 for all three plants. They have been growing and growing and recently I had a lot of jalapenos that had ripened and were ready to pick!


I sliced, pickled, and canned some of them to top of dishes throughout the year, but I still had tons left! So, I decided to make some homemade jalapeno peppers. These are baked too, so you don't have to feel as guilty as if you had fried them. So yummy!

Ingredients:
  • 10 jalapenos (cut in half, making 20 poppers)
  • 1/2 cup sour cream
  • 1/2 cup shredded cheese (I used a mix of cheddar and jack)
  • 1/2 teaspoon cumin
  • 2 eggs, beaten
  • 1 cup bread crumbs
  • 1 cup flour
Directions:
  1. Slice the jalapenos in half, lengthwise. Make sure to remove all of the seeds and ribs. Be careful, don't touch your face (or any other parts) before washing the spicy pepper juice off of your hands.
  2. Mix the sour cream, shredded cheese, and cumin.
  3. Spoon the cheese mixture into the hollow jalapeno halves.
  4. Roll them in the flour, then the beaten eggs, then the bread crumbs.
  5. Place on baking sheet, and back for 20-30 minutes (or until golden brown and they are oozing gobbly goop of yumminess!) :)
  6. Devour!
*Have a glass of milk on hand.

Saturday, July 16, 2011

Saag Creamed Spinach

Saag is my favorite dish with Spinach. Saag Paneer is the most common way the dish is served. Paneer is a fresh curd cheese that usually comes in blocks at Indian markets. Usually the paneer cheese is chopped into cubes, pan-fried, and then immersed in the creamy spinach saag sauce. The only bad thing about it, is it can be hard to find and often pricey when you do find it. I did a little research on the internet, and apparently it is pretty easy and cheap to make your own. I haven't tried it yet, but I plan trying to make my own the next time I make Saag for dinner. I will report back when I do.

To start, defrost your spinach and squeeze out all of the excess water. To make the sauce, saute the first four ingredients in a pan for 5-10 minutes. In a separate pan, bloom the whole spices (cumin seeds, cardamom seeds, fenugreek, mustard seeds, coriander seeds and fennel seeds) by quickly frying them in oil in a skillet. Transfer them to a mortar and pestle and crush them up a bit. Add to the onions, garlic, and ginger. Add the rest of the ingredients, except the yogurt and stock. Cook for another 5-10 minutes, then add the yogurt, stock, and chilies. Mix well. At this point, use an immersion blender to cream up the spinach with the other ingredients. Get in there real good and spend enough time blending it up, so the spinach with get chopped up well and the sauce will be yummy and creamy. Add the chilies and cook for another 5 minutes. Take off of heat. Add cilantro if you decide to use it. After you put the sauce in your heated and sterilized jars, process in your hot water bath/canner for 35 minutes. Let cool on top of towel on counter top for 12 hours, screw lids tight, label, and store. This recipe makes about 3- pints of sauce.

*If you don't have an immersion blender, you can use a regular blender at the end or just to break up the spinach more before you add it to the pan. If you use a regular blender at the end, just be careful since you will be pouring hot liquid into your blender (make sure the lid is on).

Ingredients:
  • vegetable oil, enough to coat the pan
  • 2 onions, finely chopped
  • 5 cloves of garlic, minced
  • 1" piece of ginger root, peeled and minced
  • 1 teaspoon cumin seeds
  • 1/2 teaspoon cardamom seeds
  • 1/2 teaspoon coriander seeds
  • 1/2 teaspoon fenugreek
  • 1/2 teaspoon mustard seed
  • dash of fennel seed
  • 1 teaspoon ground cloves
  • 1 teaspoon tumeric
  • 1 teaspoon curry powder
  • 1/2 teaspoon ground cumin
  • 1 teaspoon salt
  • 1/2 teaspoon black pepper
  • 1 teaspoon vinegar
  • 2 cups plain yogurt
  • 1/2 cup vegetable or chicken stock
  • 3 small green chilies, finely chopped
  • chopped cilantro (optional)
*If you don't have all of the whole spices and seeds or you don't want to go the trouble of stocking up on them, you can use a ground spice blend that has basically the same stuff in it. I have used the vegetable blend from "Mohini."

Friday, July 15, 2011

Vindaloo Sauce

Vindaloo is a traditional Indian curry dish from the region of Goa. It is very spicy! Traditionally, it is served with pork, but you could also do it with chicken or lamb if you want to make something really special. This recipe uses a "vindaloo paste" that you can pick up at your local Asian market or more specialized Indian market if you can't find it in your Asian market. Using the pre-made paste makes this a really simple and easy recipe. If you are a purist, then by all means do some research and make your own homemade paste...nobody's stopping you!

All you do is stir fry the paste in your pan with oil for about 30 seconds, then add the onions and garlic and saute for another 5 minutes. Add the rest of the ingredients (except chilies). Mix them well, and let simmer for about 30 minutes. Add the chilies during the last 5 minutes. Take it off of the heat. After you put the sauce in your heated and sterilized jars, process in your hot water bath/canner for 35 minutes. Let cool on top of towel on counter top for 12 hours, screw lids tight, label, and put on the shelf for a rainy day! This recipe makes about 3-3.5 pints of sauce.

Ingredients:
  • vegetable oil, enough to coat bottom of pan
  • 2 cloves garlic, minced
  • 1/2 an onion, finely chopped
  • 6 Tablespoons vindaloo paste
  • 5 medium vine-ripened tomatoes, roughly chopped
  • 1 (28-ounce) can diced tomatoes
  • 1 (12-ounce) can tomato paste
  • 1/2 cup chicken or vegetable stock
  • 4 large green chilies, chopped (I used jalapenos)
Serving suggestion is to brown your chopped meat (chicken, pork, or lamb) in a skillet. Add some green bell peppers and saute for a few minutes. Stir in prepared vindaloo sauce and let simmer for a 5-10 minutes on low heat for flavors to meld. Serve with a side of plain yogurt or raita to cool your palette from all the spiciness!

Thursday, July 14, 2011

Sweet and Spicy Green Thai Coconut Sauce

Long name I know, but this Thai sauce I completely made up, so I tried to name it based on what is in it. There is a lot of spicy green curry paste and coconut milk. This one has a real sweet taste at first, but the spice creeps up on you!

When I set out to make this sauce, I had the sauce that Surin uses in their Eggplant Noodle dish in mind. However, as any creative process might go, the end result was far from the inspiration. But it is still delicious, sweet and spicy! All you have to do is saute the first three ingredients together for about 10 minutes, add the rest of the ingredients and simmer for 20-30 minutes (if you have been reading my other sauce recipes I have been posting this week, you are probably noticing a pattern here). Then, take it off of the heat. After you put the sauce in your heated and sterilized jars, process in your hot water bath/canner for 35 minutes. Let cool on top of towel on counter top for 12 hours, screw lids tight, label, and put on the shelf for a rainy day! This recipe should make about 2-3 pints of sauce.

* I picked up both of the curry pastes at my local Asian market. The ones I got come in 4 ounce cans and are made by the brand "Maesri." I got this one and this one.

Ingredients:
  • Vegetable oil, enough to coat the pan
  • 1 1/2 cups of finely chopped onions or shallots (or a combo of both!)
  • 1/2 of a 4 oz can of green curry paste (see note above)
  • 1/2 of a 4 oz can of sweet thai noodle sauce (see note above)
  • 1 shoot of lemongrass, chopped (watch this video if you don't know how)
  • 1 1/2 cups coconut milk
  • 1 1/2 cups coconut cream (use mostly the solid stuff that rises to top of can)
  • 1 1/2 Tablespoons brown sugar (palm sugar if you happen to have it)
  • zest of 1 lime
  • 2 Tablespoons fish sauce
  • Add vegetable stock or water as needed to thin sauce to desired consistency
My serving suggestions would be to saute some sliced eggplant with some vegetable oil in a wok for 3-4 minutes until seared and tender. Serve with rice or noodles. Garnish with fresh torn basil.

*Dont' forget to place your chopped eggplant on a paper towel and salt both sides, letting it sit for 30 minutes. This will take some of the unnecessarily moisture out of them so they will cook better and get rid some of the natural bitterness of the eggplant.

Wednesday, July 13, 2011

Thai Massaman Curry Sauce

I made this recipe in hopes of recreating the Massaman curry sauce from Surin West, here in Birmingham. I love that dish! To start you will want to toast your cashews in the oven on a baking sheet so their flavors are brought out and so they hold up in the sauce. Then, all you have to do is saute the first three ingredients together for about 10 minutes, add the rest of the ingredients and simmer for 20-30 minutes. Then, take it off of the heat. After you put the sauce in your heated and sterilized jars, process in your hot water bath/canner for 35 minutes. Let cool on top of towel on counter top for 12 hours, screw lids tight, label, and put on the shelf for a rainy day! This recipe makes about 2 pints of sauce.

The word massaman is believed to be a variation of the Thai word for "Muslim." This sauce got its name because alot of the spices in it were originally brought to Thailand by Muslim traders.

*You can look up ingredients to make your own massaman curry paste, but that is a lot of extra steps. I picked up a can of the stuff at my local Asian market. This is the one I got.

Ingredients:
  • Vegetable oil, enough to coat the pan
  • 1 1/2 cups of finely chopped onions or shallots (or a combo of both!)
  • 1 4 oz can of massman curry paste (see note above)
  • 4 Tablespoons cardamom seeds, crushed in mortar and pestle
  • 1/2 cup roasted cashew halves
  • 1 1/2 cups coconut milk
  • 1 1/2 cups coconut cream (use mostly the solid stuff that rises to top of can)
  • 1 1/2 Tablespoons brown sugar (palm sugar if you happen to have it)
  • 1 cinammon stick
  • 4 bay leaves
  • 3 1/2 Tablespoons fish sauce
  • 3 1/2 Tablespoons tamarind paste
*Make sure to remove the bay leaves and cinammon stick before pouring sauce into jars for canning!

When you get ready to make dinner with the sauce, you can brown some cubed chicken breasts in a skillet, add some of the prepared jarred sauce and serve over rice. I like to add fresh, sliced avocado and extra cashews with it like they do at Surin. However, you could add anything really. Potatoes or bell peppers would be good too. Also, I do it with chicken; but it is more traditional to do it with beef. Whatever you put in it, you will be licking your chops for more. I promise you!

Tuesday, July 12, 2011

Pad-Thai Peanut Sauce

I love Thai food, pretty much all of it. This is the Pad-Thai peanut sauce I made and canned. All you have to do is saute the first three ingredients together for about 10 minutes, add the rest of the ingredients and simmer for about 20 minutes. Then, take it off of the heat. After you put the sauce in your heated and sterilized jars, process in your hot water bath/canner for 35 minutes. Let cool on top of towel on counter top for 12 hours, screw lids tight, label, and put on the shelf for a rainy day! This recipe makes about 2 pints of sauce.


Ingredients:
Sauce
  • Peanut oil, enough to coat bottom of pan
  • 2 large shallots, finely chopped
  • 6 cloves of garlic, minced
  • 4 Tablespoons fish sauce
  • 5 Tablespoons tamarind sauce
  • 2 Tablespoons rice wine vinegar
  • 4 Tablespoons crunch peanut butter
  • 1 Tablespoon sugar
  • 1 Tablespoon ground ginger
  • Juice of one lime
  • 1 cup chicken or vegetable stock (add more or less to thin out to desired consistency)
When you get ready to make dinner on another night with the pre-made sauce, you will need some "rice-stick" noodles (you can pick these up at your local Asian market, or I have even seen them at Big Lots). Follow the directions on the packet to cook them, you don't actually "cook" them. Instead you place them in a bowl of hot water and let them sit while you prepare everything else and then add them to the sauce in the wok at the last minute to lightly pan-fry them. The trick to the noodles is to make sure they are not completely soft when you place them in the pan, they should be pliable but not so soft they will become mushy.

To complete the meal you would want to have the following ingredients on hand (feel free to adjust to suit your taste): shrimp, bean sprouts, 1 egg, chopped green onions, and 1 lime cut into wedges. Cook your shrimp first in some peanut or vegetable oil in your work for about 2-3 minutes. Then add prepared peanut sauce and rice-stick noodles (that have been soaking according to package directions). Stir around wok to just to combine ingredients. Push noodles to the side and crack egg into bottom of wok. Stir for a couple of minutes to scramble, then stir to combine with noodles, shrimp and sauce. Stir in bean sprouts and green onions. Serve with lime wedges on plate. You may add additional chopped peanuts on top if you like. Eat it up!


Monday, July 11, 2011

Spaghetti Sauce

This is the recipe I made when I made my own Spaghetti sauce and canned it. All you have to do is saute the first three ingredients together for about 10 minutes, add all but the last three ingredients and simmer for an hour or two. Then, take it off of the heat and add last three ingredients-the fresh herbs. After you put the sauce in your heated and sterilized jars, process in your hot water bath/canner for 35 minutes. Let cool on top of towel on counter top for 12 hours, screw lids tight, label, and put on the shelf for a rainy day! This recipe makes about 3-3.5 pints of sauce.

*I made my sauce in my hefty dutch oven, but you can just use a large pot if you don't have one.

Ingredients:
  • Olive oil (enough to coat bottom of pan)
  • 1 onion, finely chopped
  • 4 cloves garlic, minced
  • 5 medium vine-ripened tomatoes, roughly chopped
  • 1 (28-ounce) can diced tomatoes
  • 1 (12-ounce) can tomato paste
  • 1/4 cup brown sugar
  • 1/4 cup balsamic vinegar
  • 1/4 cup grated Parmesan cheese
  • 2 Tablespoons Italian seasoning
  • 1 teaspoon salt
  • 1 teaspoon pepper
  • 1 cup chicken stock
  • 2 fresh sage leaves, chopped
  • leaves from one rosemary sprig, chopped
  • 6 basil leaves, chiffonade chop

Friday, July 8, 2011

Canning Recipes

Starting next week, I will be posting a different canning recipe each day...so stay tuned! The recipes I will be posting include a Spaghetti sauce, 2 Indian sauces, and 3 Thai sauces. I have recently gotten into canning because it makes cooking dinner a lot easier and quicker; but you still have the joy of knowing you made it! With these sauces, you can just saute your vegetables and or meat (and cook noodles if needed) and stir in sauce and cook for five minutes. Now, how easy is that?! I would rather cook and can all day if it saves me oodles of time later.

Check back daily, next week, for the recipes!

Thursday, June 30, 2011

A Very Special Benedict


My boyfriend John, and I love enjoying the Sunday afternoons relaxing with friends, a mimosa and some good brunch eats. This past Sunday when I asked him to text some friends to invite them over for brunch, he informed me that-based on our planned menu-he had invited our friends over for a "Very Special Benedict." I thought that title was very apropos, considering all of the decadence and deliciousness we had planned. You'll see, just wait!
One step at a time, we stacked up all of the ingredients we had prepared into 4 yummy layers: bread, potatoes, egg, mother sauce. This recipe serves 10-12 people.

Ingredients:
  • 5 large Yukon gold potatoes
  • 3 Tablespoons butter
  • 2 Tablespoons flour
  • 3 cups smoked cheddar or gouda
  • 1 cup chopped shallots or yellow onions
  • non stick cooking spay
  • Sliced Sourdough bread
  • 15 eggs (12 for poaching/3 for Bearnaise sauce)
  • Dijon Mustard, 1 Tablespoon
  • Lemon juice, 1 Tablespoon
  • 1 stick butter, melted
  • chopped tarragon, 5-10 leaves
Directions:
The first thing we did was create layer two, the scalloped potatoes with smoked cheddar we had brought home from an Amish shop up in Pennsylvania. To make the potatoes we took about 5 large Yukon Gold potatoes and slice them into thin (about 1/4 inch) discs and boiled them in water for around 10-15 minutes; until they began to soften a little (you don't want them super soft though, because they are going to bake in the oven later). After you take potatoes out of the water and drain them in a colander, you can begin making your roux for your creamy cheese sauce and prepare your glass baking dish by lightly greasing it. To create your roux, melt three tablespoons butter on low heat in pot, then add 2 tablespoons flour and combine with whisk. Cook for a couple of minutes to remove flour taste, but make sure to stir continuously so it
doesn't burn. Add 2 cups of warm milk and continue to whisk for couple more minutes. Next, add 1 1/2 - 2 cups shredded cheese and stir just until cheese melts into roux. Take off of heat. In a
small skillet, saute 1 cup chopped shallots or yellow onions in a few tablespoons olive oil, with garlic, salt and pepper, set aside. Lay potatoes in greased dish, top with creamy roux, then sauteed onions, then remaining shredded cheese. Bake in 35o degree oven for 15 minutes or until golden brown.

The next step is to create a delicious tarragon Bearnaise sauce in your food processor (this is layer four). Seperate 3 room temperature eggs-throw away whites and place yolks in food processor. Add 1 tablespoon dijon mustard, 1 tablespoon lemon juice, and 1/2 teaspoon chopped tarragon. Melt one stick butter in small bowl in microwave. Pulse mustard, yolks, lemon juice, and tarragon in food processor. Open opening on top and slowly add melted butter while pulsing blades, this will create an emulsion that turns all the liquids into your mouth watering sauce!

Now, slice up some good good sourdough bread (I used my homemade version I make using my Step-mom's starter). This is obviously layer one. I even plated it up when I sliced it so it was ready for layer two.

Now to prepare layer three; poached eggs. There is definitely an art to poached eggs, and I am still learning each time I do it. Fill a large skillet with water and add a splash of white vinegar. Use a thermomter to meter your temperature, you want it to stay between 140-150 degrees. Have a small bowl close by to crack eggs one by one into for easy pouring into the hot liquid. Also have a spoon close by to encourage the whites to stay together if necessary. When water is ready, very slowly add egg to water and set timer for 4 minutes. Take out right away. The whites will be glossy and almost look runny, but if you check they will be firm.

To assemble, place bread on plate, serving of potatoes on top, poached egg next, then drizzle a healthy spoonful of Bearnaise sauce on top.
Devour!